1. To associate a custom domain with your account on our service, follow these steps:
2. Go to Godaddy and select your domain's DNS settings.
3. If you already have an existing A record, you should delete it. If you don't have one, you can ignore this step.
4. Now we need to create a new A record.
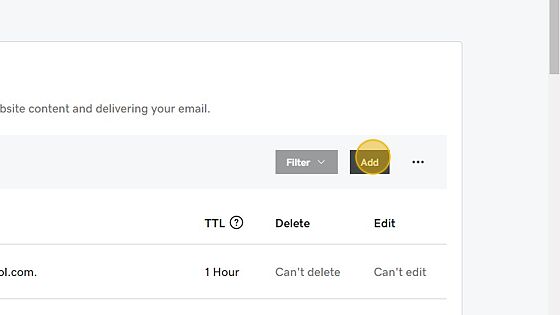
5. Click "Add"
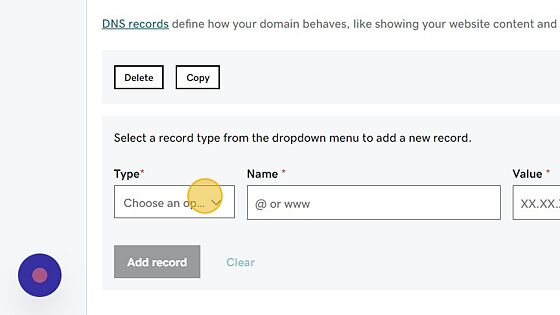
6. Click "Choose an option"
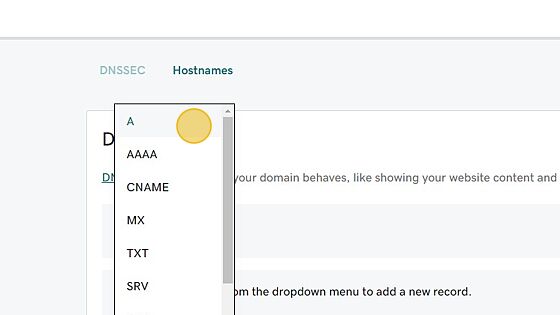
7. Click "A"
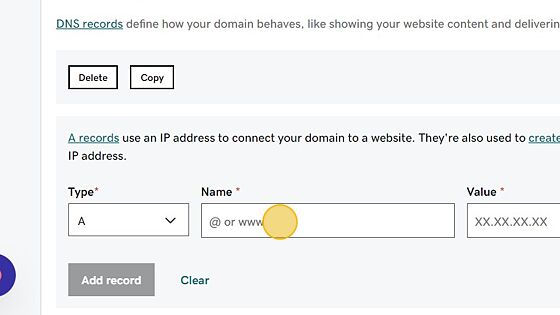
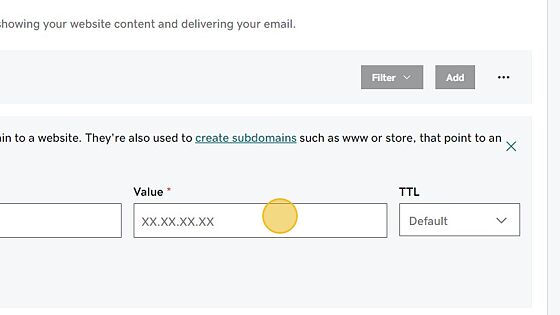
8. Click on the "Name*" field and type "@".
9. Click the "Value*" field and enter our IP address which is 3.219.102.216.
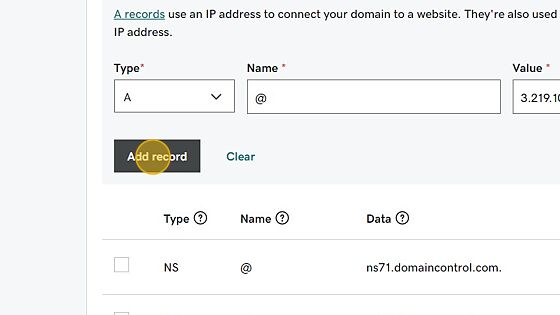
10. Click "Add record"
11. Wait for the DNS changes to propagate (which can take up to 36 hours).
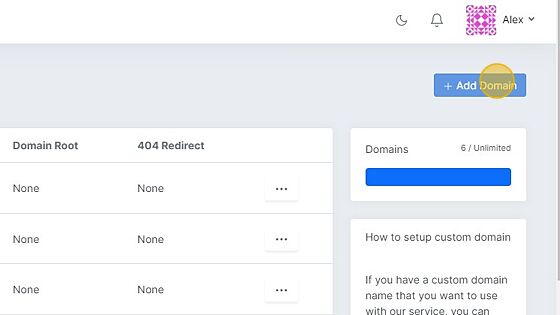
12. Go to the "branded domain" section on our platform's dashboard.
13. Click "Add Domain"
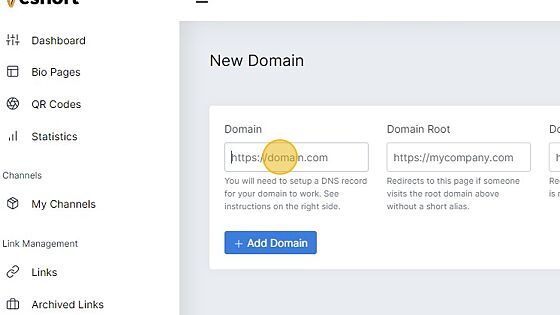
14. Click the "Domain" field and type in your domain name.
15. Domain root (𝗼𝗽𝘁𝗶𝗼𝗻𝗮𝗹)
If you want your domain to automatically redirect when someone types it into the browser's address bar, you can enter the redirect information in the 'domain root' section.
For example, if you enter 'veshort.com' in the domain root section and someone types in your domain name directly, such as 'techmall4u.com', the user will be redirected to 'veshort.com'.
16. Domain 404 (𝗼𝗽𝘁𝗶𝗼𝗻𝗮𝗹)
If you want your domain to automatically redirect to a different page when a short URL is not found, you can enter the redirect information in the 'domain 404' section.
For example, if you set up 'veshort.com' in the 'domain 404' section and create a custom domain link, such as 'techmall4u.com/bio', when someone types in a non-existing link, such as 'techmall4u.com/bi', they will be redirected to 'veshort.com'.
21. Click "Add Domain"

22. Your final custom domain should now be pointing to our server, and it should look like this:
